How to Record Electric Guitar at Home: A Beginner's Guide
Capture Your Electric Guitar’s True Tone at Home
If you’re a beginner looking to nail how to record electric guitar at home, you’ve come to the right place. Whether you’re a beatmaker, podcaster, or independent music producer, getting a solid electric guitar recording setup is key to producing crisp, professional-sounding tracks without breaking the bank. This guide covers everything from essential gear and microphone placement to creative amp simulation techniques.
Building Your Electric Guitar Recording Setup
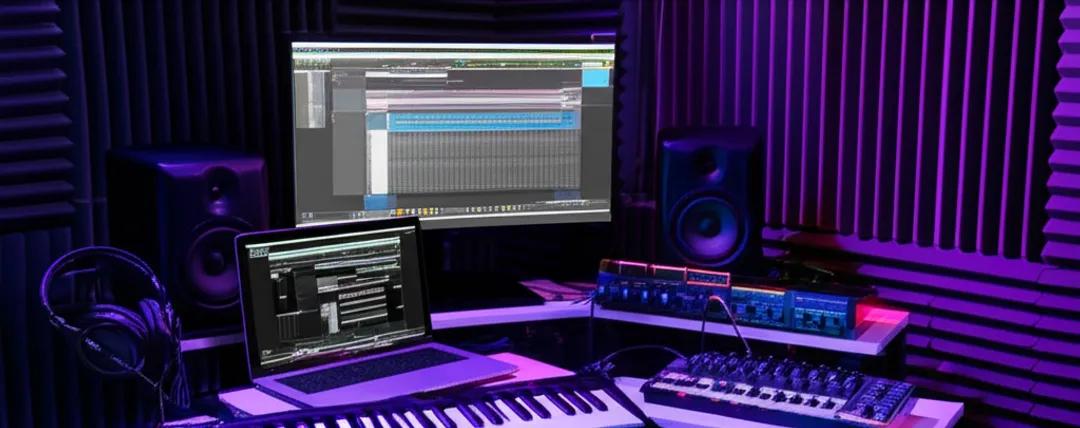
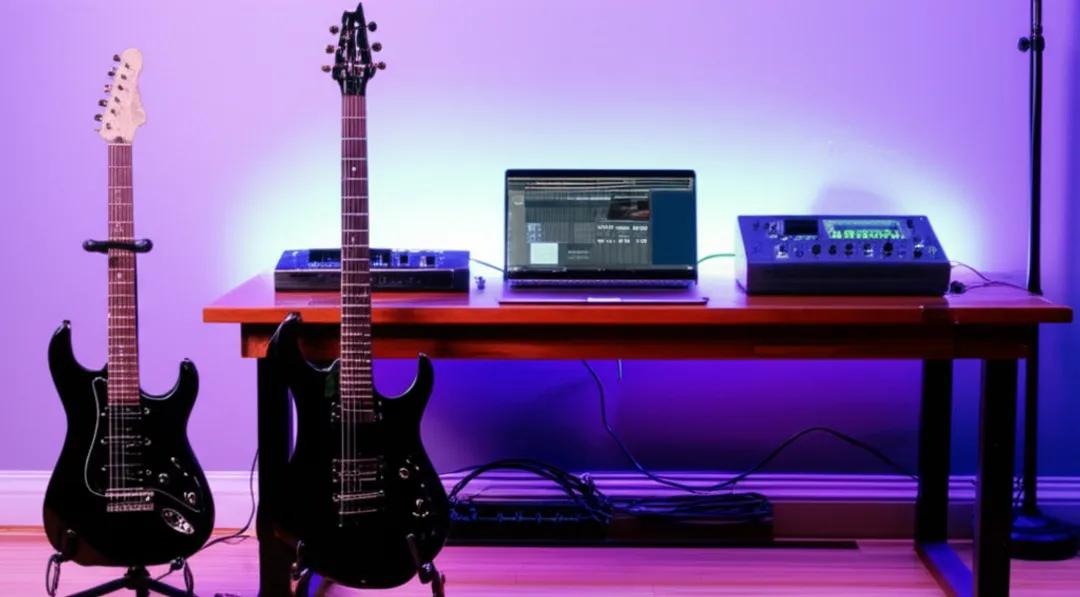
At the heart of every great home studio is a compact but effective setup. For recording electric guitar in your home studio, here’s what you need:
- Electric guitar: Your trusty instrument
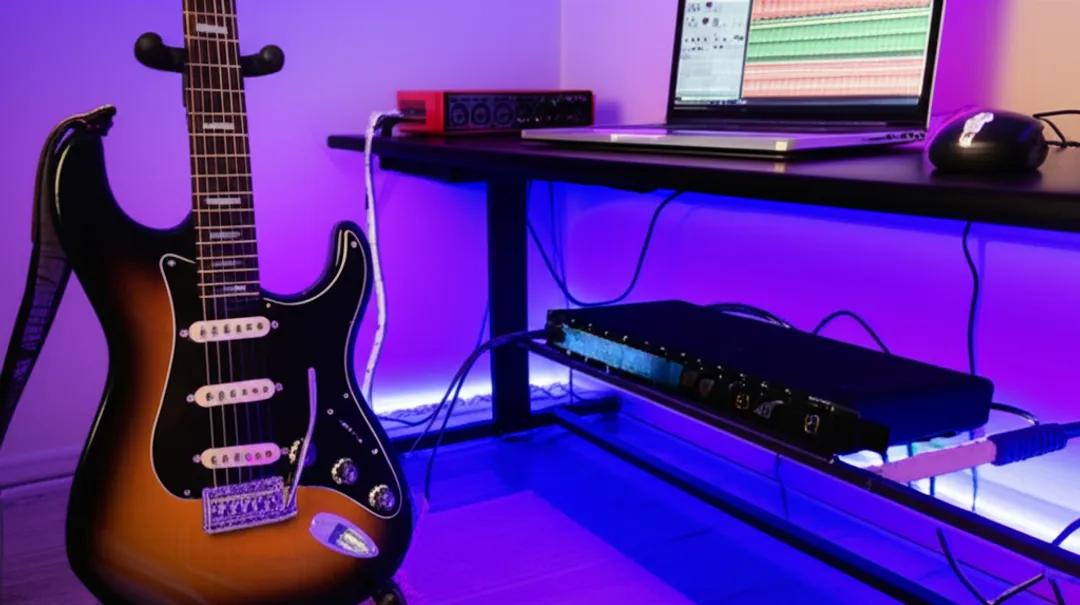
- Audio Interface: The bridge between your guitar and computer. A great audio interface for guitar, such as the Focusrite Scarlett series or Universal Audio Apollo Twin, ensures clear, low-latency recording (source). Look for interfaces with instrument inputs (Hi-Z) designed specifically for guitars.
- Cables: Quality 1/4" instrument cables to connect your guitar to the interface or amp
- Digital Audio Workstation (DAW): Software like Ableton Live, Logic Pro, or Reaper to record and edit your guitar tracks
With this baseline, you’ll be ready to explore recording techniques that fit your style and budget.
Exploring Electric Guitar Recording Techniques
Understanding different recording methods is crucial:
- Direct Input (DI): Recording your electric guitar directly into your audio interface without an amp. This method captures a clean, uncolored signal.
- Using Amp Simulators: Software like AmpliTube, Guitar Rig, or Bias FX emulates classic amplifiers and effects, offering tons of tonal flexibility without needing physical amps (source).
- Miking a Real Amplifier: Recording the sound from an actual guitar amp allows rich, authentic tones but requires a quieter space and additional hardware.
Perfecting Microphone Placement for Electric Guitar
If you use a real amplifier, mic positioning determines your final tone:
- Dynamic Mics (e.g., Shure SM57): Industry standard for miking guitar amps, great for close-micing the speaker cone.
- Condenser Mics: Capture more detail and room ambience
- Placement Tips:
- Position the mic close to the speaker grille for a direct, punchy sound
- Experiment by moving the mic towards the center of the cone for brighter tones or towards the edge for warmer tones
- Single mic setups are simple and effective, but multiple microphones can add depth and stereo imaging
How to Record Electric Guitar Without an Amp
Amp-less recording is ideal when you want quiet sessions or don’t own an amplifier:
- Plug straight into your audio interface using a DI box or Hi-Z input
- Use amp simulator software to model your tone, enabling a wide range of sounds from clean to high-gain distortion (source)
- Benefits include noise control, instant tone tweaking, and easy recall, though some players miss the organic complexity of an actual amp
Step-by-Step Guide to Recording Your Electric Guitar
- Set your levels properly: Adjust the input gain on your audio interface until the signal is strong but without clipping (going into the red).
- Monitor in real-time: Use headphones or studio monitors connected to your interface to hear what you’re playing.
- Minimize noise: Use shielded cables, keep your recording space quiet, and apply noise gates or filters if necessary.
- Record multiple takes: Layering takes later helps create a fuller sound.
Polish Your Tracks with Post-Recording Tips
Editing is where your recorded guitar really shines:
- Trim unwanted noises and silence
- Apply EQ to shape your tone; cut muddiness or boost presence
- Compression helps to even out dynamics
- Use effects like reverb, delay, or chorus tastefully to add dimension
Preparing tracks for stock music platforms? Ensure your final mix is clear and export in high-quality WAV or MP3 formats.
Troubleshooting Common Issues
- Latency: Delay between playing and hearing your guitar can be solved by lowering buffer size in your DAW
- Distortion: Check your input levels and cables
- Unwanted noise: Ground loops or electromagnetic interference can cause hum; try different power outlets or noise suppression plugins
Take Your Electric Guitar Recording To The Next Level
Advanced techniques to explore once you’re comfortable:
- Layer guitar parts for texture and fullness
- Experiment with mic placement and amp settings to discover unique sounds
- Incorporate pedals like overdrive or delay before recording for creative tones
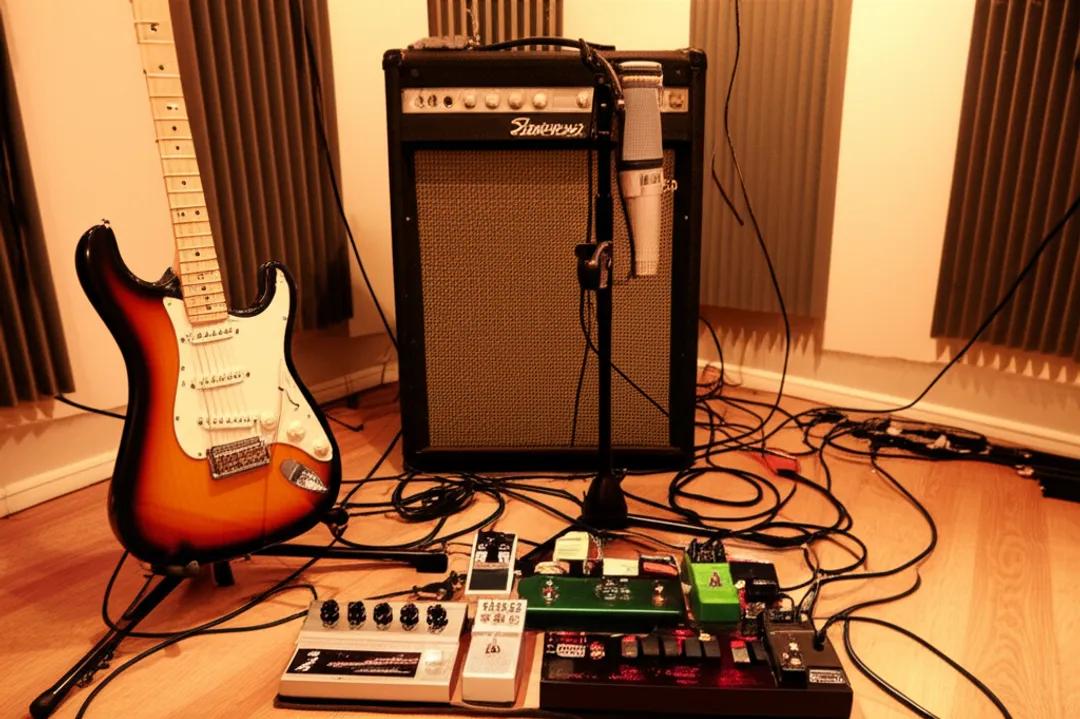
Mastering how to record electric guitar at home opens doors to creating professional music that you control from your personal studio. With the right setup, techniques, and a bit of experimentation, you can craft guitar tracks that stand out in your mixes and monetize your creative skills.
Ready to take your home guitar recordings further? Explore our gear guides, find tutorials on mixing, and sign up for MyMusicMachine.com’s newsletter for exclusive tips and deals on studio equipment. Start recording today and turn your passion into income!
Next Steps:
- Check out our Best Audio Interfaces for Guitar Recording guide to find your perfect match.
- Learn How to Mix Your Guitar Recordings Like a Pro.
- Subscribe to our newsletter for insider tips and discounts on music gear.
Plug in, play, and produce! Your home-recorded electric guitar journey begins now.